I just love doing art. I love teaching it to my children too, and I love even more to find fun ways to present projects to them. A complete art kit of any kind is always a hit with my kids, so I was happy to be chosen to try out this Master Kitz The Starry Night from Kidzaw.com. It's a complete kit for kids to create a masterpiece of their own that resembles the famous painting by Vincent Van Gogh, The Starry Night.
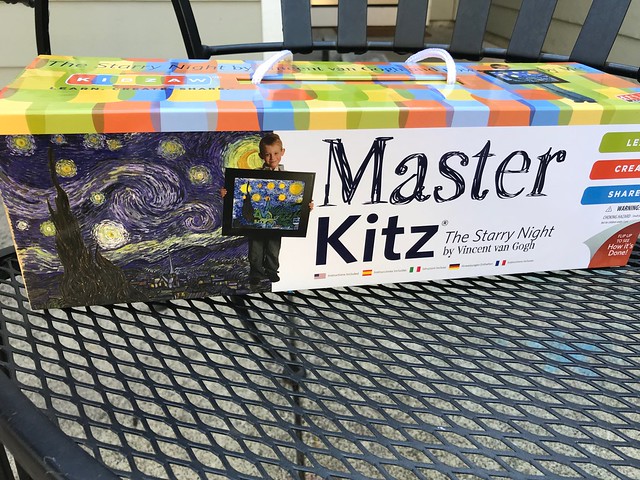 |
| Just received it in the mail! |
My kids were excited when we received a box one day, and this Master Kitz The Starry Night art kit was inside. It's a rather large box, and looks so fun on the outside. It also opens in a fun way!
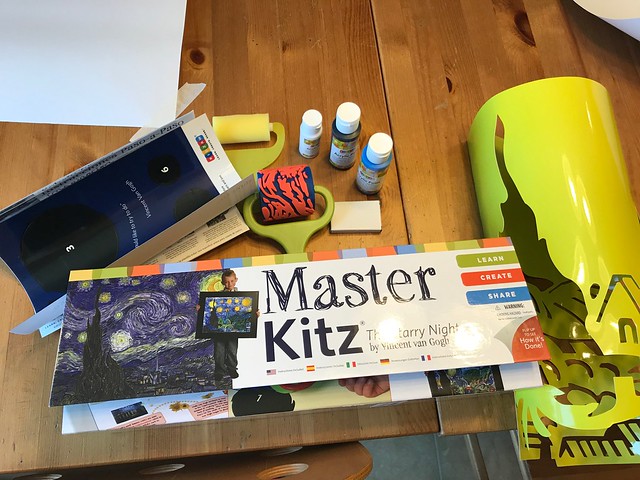 |
| All the contents of the kit |
A few days later we finally had the chance to dig in and see what was inside. It contains paper (very large size), paint, oil pastels tools, stickers, rollers, stencils, and instructions/information timeline about Vincent Van Gogh. Everything is rolled up into the box so it doesn't get bent, and the box is pretty sturdy so nothing gets squished from the outside either!
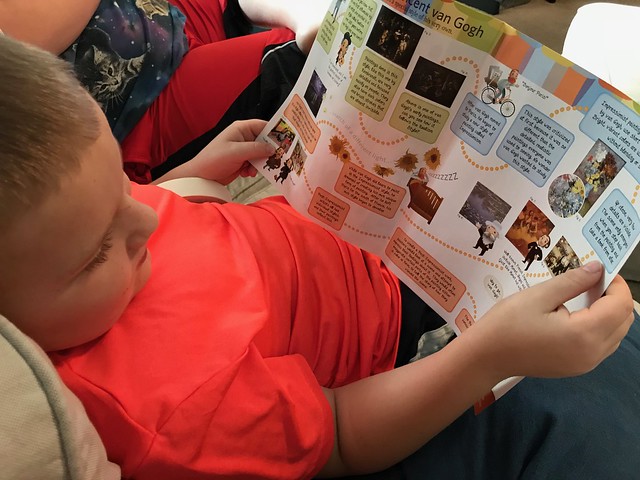 |
| Reading about Vincent Van Gogh |
We started by reading some little snippets from his life, and what this painting is about. My boys (I did this with my 10 and 7 year-old boys) loved the information bubbles. We took turns reading, and that worked well. There are some pictures too!
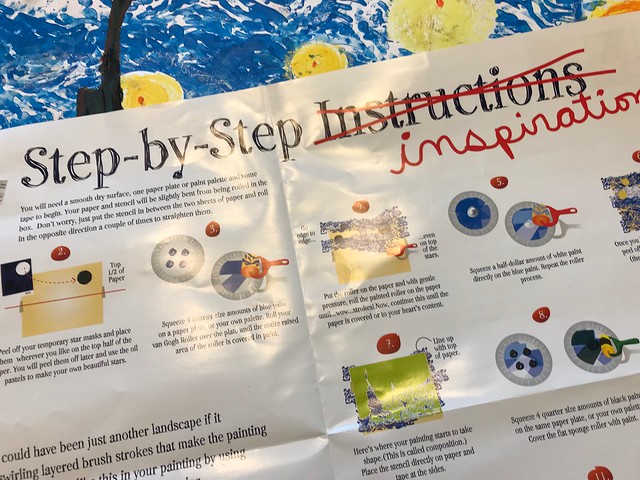 |
| The Step-by-step |
It was finally time to dig in! We followed the step-by-step instructions which were easy to follow, even for the boys. I love that it even tells you about how much paint to put down.We accidently had too much paint before I realized that. I let them each create their own since there were two papers, and most everything is reusable. The stickers for the stars were a little bit harder because they stick down, but we were able to get them to work.
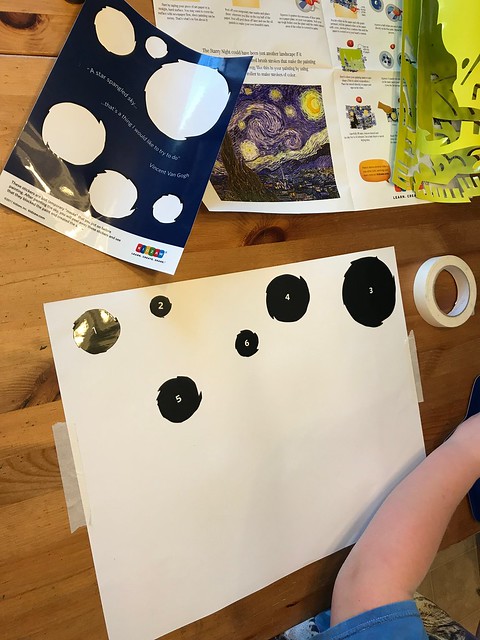 |
| Laying down the star stickers |
To create this masterpiece, the child creates layers to get the effect of The Starry Night. After we got the paper taped down the first step was to put the six stickers down where the stars would be.
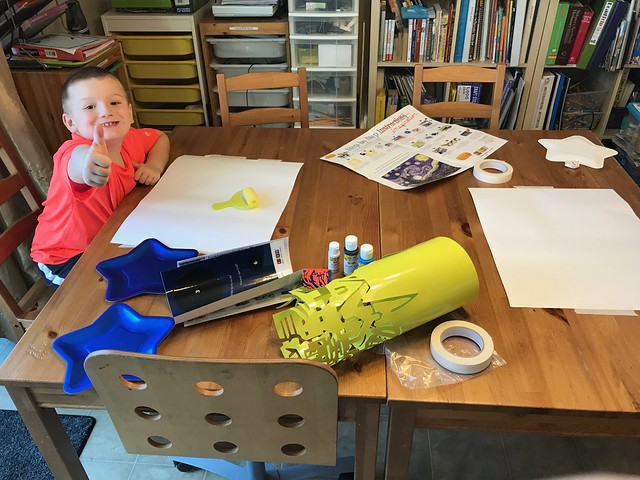 |
| He's ready to start! |
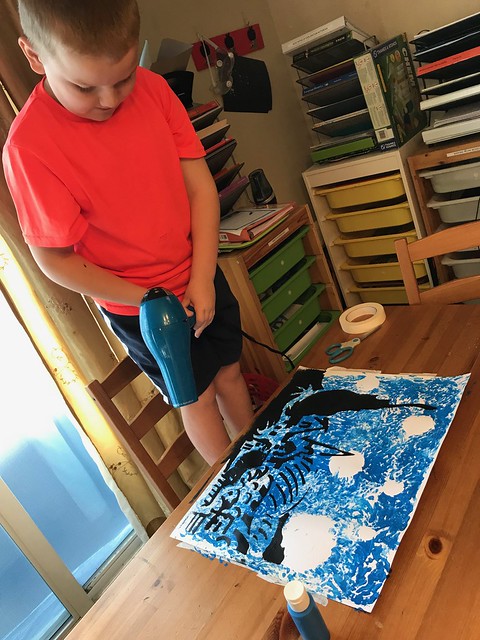
Then the child paints over that with a special roller that has a pattern, and when the stickers are pulled up there are some white spaces to create stars later after a few other steps.
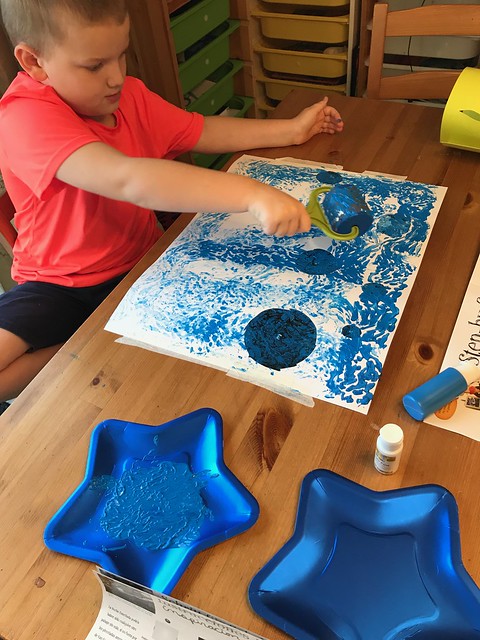 |
| Rolling over the star stickers. We just happened to have some star plates laying around for our paint pallets. |
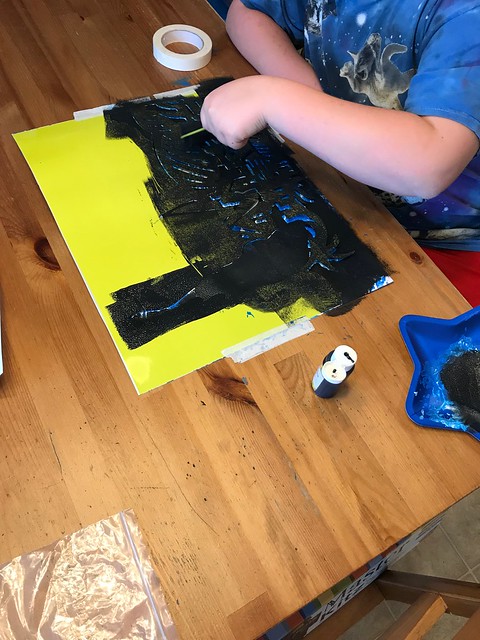
There is a special stencil for the next step to create the city landscape. They just roll over that, and it instantly creates a city silhouette at the bottom.
It is recommended to use a hair dryer to speed up the drying process. This allowed us to keep doing the next layers sooner which are done with oil pastels.
The oil pastels are used to draw in some of the colors and detail in the stars and landscape. The kids are free to do add their own details to this, but there is also instruction on how to make the stars look more realistic.
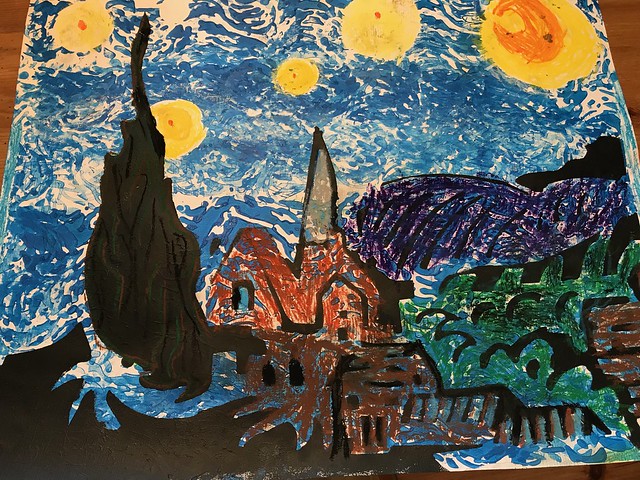 |
| Aric (age 10) |
The finished piece looks and feels like a big accomplishment. My boys were happy with their finished pieces, and kept raving at how much fun it was. They were kind of sad to be done.
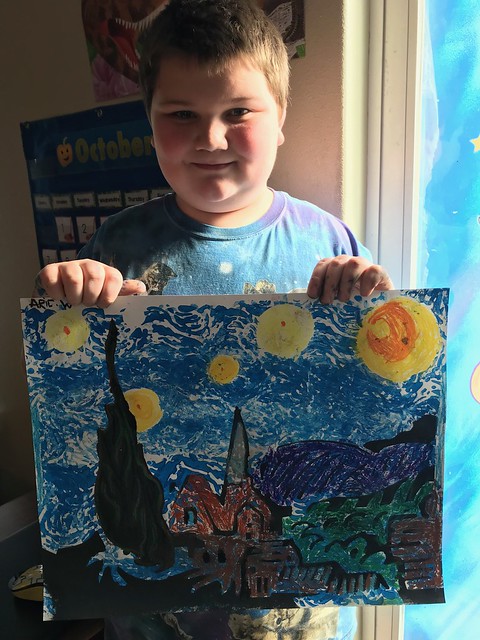 |
| Aric (age 10) |
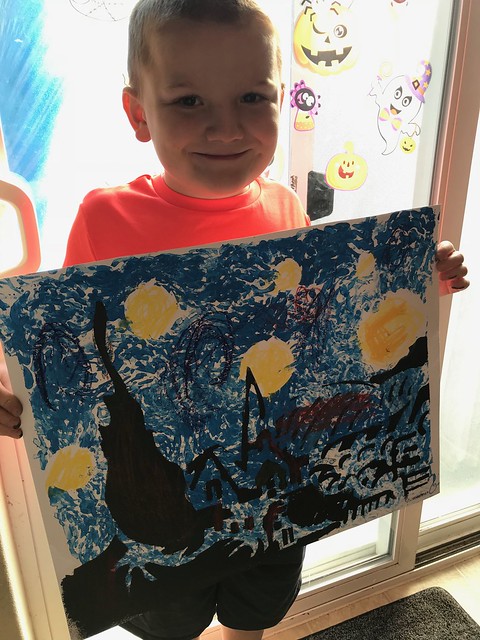 |
| Alex (Age 7) |
From start to finish the project took about an hour, including the reading and prep time. I am sure my boys could have taken a little longer on the oil pastel part, but they chose to keep it simple. What a fun project!
I am really happy with this art kit. I would happily buy this for my kids or for a gift for a friend. I love that it's a big piece of art at the end, and the quality of all the materials is superb. It's a very inspiring way to teach kids art.
If you'd like to see what other crew members had to say about this product you can read their reviews by clicking on the banner below.

No comments:
Post a Comment
Please leave a comment, I love to hear what you think.