One of my most favorite learning tools for our homeschool has to be lapbooks. Pretty much any topic or study can be made into an interactive lapbook which is why I love to review products from Home School in the Woods. They pretty much make the best lapbooks for all of their bundles, activities, and "paks," making for a fun learning adventure. For this review, I'm going to talk about two of their products, the first is the Make-A-State Activity Pak, and the second (I will touch on a little) will be the U.S. Elections Lap-Pak.
This was our main project for this review. The Make-A-State Activity Pak is set up to do with any state, so we picked the next state in our state studies, Maryland!
 |
| The cover of a lapbook from the Make-A-State Activity Pak. |
This Pak is a completely downloaded unit from the Home School in the Woods website. There are 20 activities/lapbook components to do for each state, and also included are 2 bonus materials--specific state pages and a "name-that-state" file folder game. Everything for this lapbook/pak was downloaded to my computer and printed by me. We also used file folders that we had on hand to build the lapbook itself. It is a lot of printing for sure, but very worth it. Also, it's not all in one big file, each part can be printed separately so that they can be printed as needed. I chose to just do a big printing session and print all the components at once. It took some patience as there are many specific details for some of the pages in how they should be printed up. It sounds tedious, but it makes for a very nice lapbook in the end!
 |
| The inside pages of the Make-A-State lapbook. |
 |
| More inside pages of the Make-A-State lapbook. |
 |
| Creating the "Hello my name is" project, learning about how the state of Maryland got its name. |
The instructions do say to store all the projects as they are completed in a Ziploc bag until the end when it all gets put together. That really is easiest. We stored ours in a folder because I was worried about losing the Ziploc bag. It worked great. A Ziploc would work great too, but this worked for us.
 |
| Storing the lapbook and components until the end when we put it all together. |
 |
| Making a map of Maryland is one of the activities included in the pak. We used a special map that we have to locate places to draw on the kids' maps. |
 |
| Putting components/projects into the lapbook. |
 |
| Books about Maryland were used for the projects to find information for their lapbooks. |
U.S. Elections Lap-Pak:
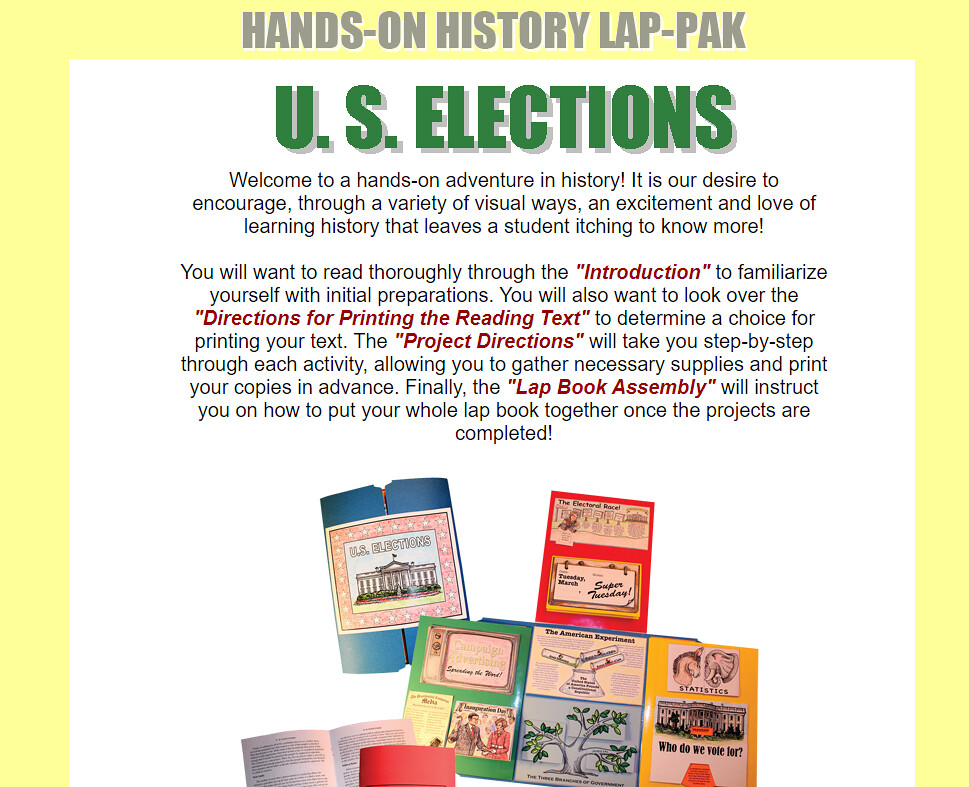
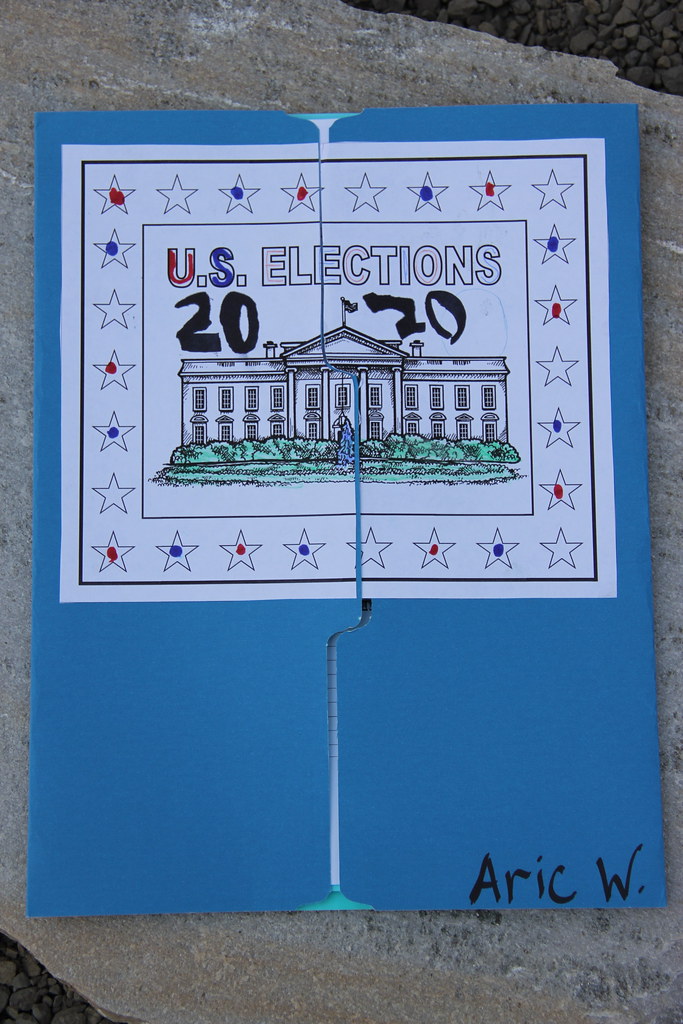
We received this Lap-Pak a few years ago for review also! We did it back in 2016 during the previous Presidential election and decided to do it again for this year's coming up election.
 |
| Download page for the U.S. Elections, Hands-on History Lap-Pak. |
We have not worked very much on it yet as the election is a bit away still. But we're all ready to jump into it more over the next few months. It's a great way to learn about how the elections process works, the history behind it, and a little about how the government is organized. There is a great booklist and a booklet (to print) included with this Pak as well as some websites to check out making for a well-rounded history unit study!
The U.S. Elections lapbook is built much the same way as the Make-A-State lapbook is with the 3 extra pages inside to hold all of the projects that are packed with tons of information. I am looking forward to tackling these projects over the next few months with the kids. If you want a great way to learn about the Elections this is an awesome option!
As you can see we really like the products from Homeschool in the Woods, and I highly recommend both. These aren't the only 2 things they have, Homeschool in the Woods has many other Paks and bundles to choose from. If you'd like to see what other things are offered, click on the banner below.


No comments:
Post a Comment
Please leave a comment, I love to hear what you think.